
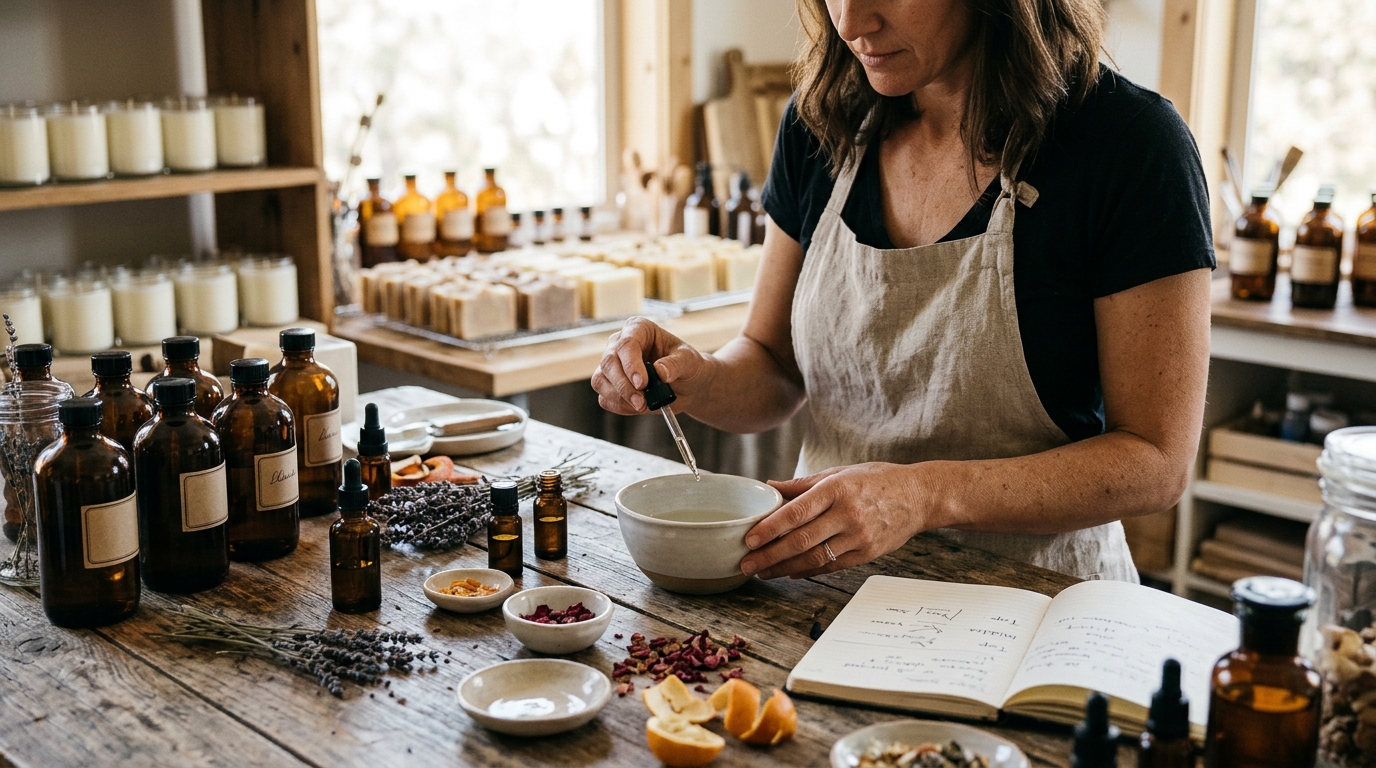
There is something deeply satisfying about pouring a candle or unmolding a bar of soap that smells like nothing else on the market—because you designed the scent. Custom fragrance blending lets you move beyond off-the-shelf single scents and craft a signature aroma that defines your brand or simply makes your home smell incredible.
This tutorial walks you through the entire process: understanding scent architecture, choosing oils, mixing at the right ratios, testing, curing, and scaling your blend across candles, soaps, room sprays, and body products.
Why Blend Your Own Fragrances?
Pre-made fragrance oils are convenient, but blending unlocks a level of personalization that single scents cannot match. When you combine two or more oils you control the intensity, mood, and complexity of the final aroma. Blending is also a strategic advantage for small businesses—a signature scent is hard for competitors to replicate.
Fragrance oils are synthetically formulated to deliver consistent aromas and clean ingredients, making them ideal for a wide range of DIY projects. They provide a vast selection of scents perfect for ensuring that each candle or soap reflects your unique style.
Step 1: Understand the Scent Pyramid—Top, Middle & Base Notes
Every well-constructed fragrance has three layers that reveal themselves over time, much like chapters in a story.
Top Notes
Top notes are the very first scent you notice. They tend to be light and fresh—think citrus fruits, herbs, and light greens. Because they are highly volatile, they typically last only 5 to 20 minutes before fading.
Middle (Heart) Notes
Middle notes emerge once the top notes dissipate and form the core personality of the fragrance. These are usually bright florals, gourmands, fruits, or lighter woods, and they can last two to six hours.
Base Notes
Base notes are the anchor, lending depth and longevity. Common base notes include vanilla, musk, sandalwood, amber, and resins. They can linger for 12 hours or longer, giving your product its lasting impression.
A harmonious blend balances all three layers so the scent evolves beautifully rather than hitting hard and disappearing.
Step 2: Apply the 30/50/20 Blending Rule
The 30/50/20 rule is one of the most widely referenced methods for creating well-rounded aromatic profiles. It divides a blend into 30% top notes, 50% middle notes, and 20% base notes.
In practice, if you are working with 10 drops total, that means 3 drops of a top note oil, 5 drops of a middle note oil, and 2 drops of a base note oil. You can split each layer across multiple oils—for example, 20% of one top note and 10% of another—while keeping the overall ratio intact.
This ratio is a starting point, not a rigid formula. A candle might benefit from heavier base notes to extend fragrance life during burn, while a room spray can lean into brighter top notes for an instant burst of freshness.
Step 3: Choose Your Oils Wisely
Start Simple
Fragrance oils with simpler note profiles are the best choice when you begin experimenting. Single-note oils are specifically designed for building custom blends and for enhancing aspects of more complex fragrance oils. Starting with basic, familiar scents makes it far easier to understand how individual aromas interact.
Limit Your Palette
Simplicity often leads to elegance. A few well-chosen oils can produce a more striking effect than a busy mix of many. Begin with two or three oils per blend, then layer in additional components as your nose develops.
Use the Fragrance Wheel
A fragrance wheel helps you identify complementary and contrasting notes, guiding effective blending choices. Scent families that sit next to each other on the wheel—such as woody and amber, or floral and citrus—tend to blend naturally.
Prioritize Quality & Safety
Always opt for high-quality, clean-ingredient oils. Check the IFRA certificate and Safety Data Sheet (SDS) for every fragrance oil you use. These documents list maximum usage levels for specific applications and flag restricted ingredients. Exceeding recommended levels can cause skin irritation, allergic reactions, and respiratory issues.
Step 4: Test Before You Commit
Testing saves time, materials, and frustration. Here are three popular methods, ranked from quickest to most thorough.
Blotter-Strip Test
Dip paper blotter strips into each fragrance oil and hold them together at a slight distance from your nose. This gives an instant preview of how scents layer. If you want one fragrance to dominate, dip that strip deeper.
Q-Tip Method
Dip a Q-tip into each of the two to four fragrance oils you want to evaluate, seal them in a small mason jar, and let them sit for at least an hour before opening. If you want a certain scent to be stronger, add additional Q-tips of that oil and note the ratio.
Small-Batch Test Product
Measure your fragrance oils into an empty container at the desired ratio, add the blend to a small amount of hot wax or soap base, and make a single test unit. This is the most accurate way to judge how a blend performs in the final medium, because fragrance oils can interact differently with various wax types and soap bases.
Whichever method you choose, keep a detailed log of every scent combination, ratio, and the product type you tested it in. Accurate record-keeping is the backbone of reproducible blends.
Step 5: Mix & Measure with Precision
When you are ready to create a full batch:
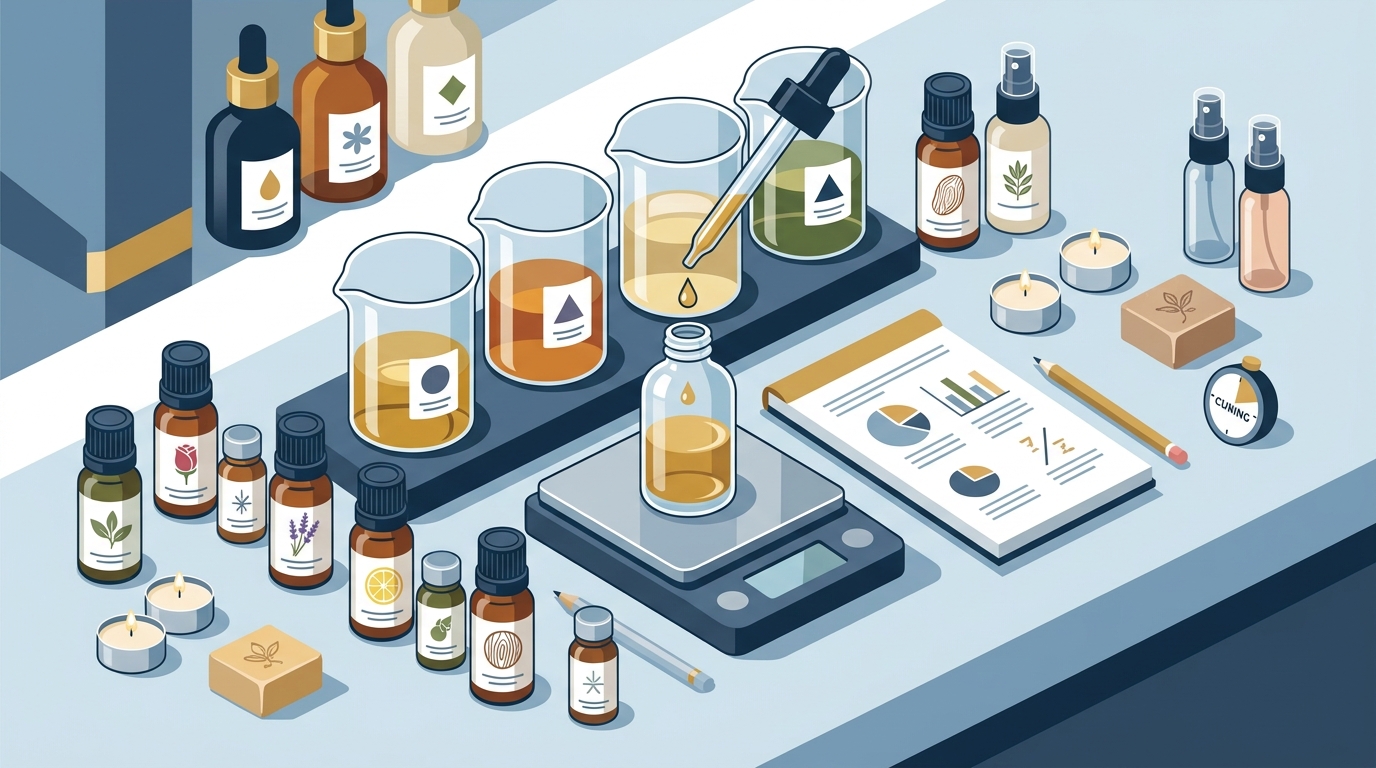
- Weigh, don't pour. Use a digital scale that reads to 0.1 g. Weight-based measurements are far more precise than volume, especially at small scales.
- Blend the fragrance oils together first in a separate glass container before adding them to your wax or soap base. This helps the oils meld evenly.
- Add fragrance at the right temperature. For candles, fragrance oil is generally added once wax has cooled to around 150 °F (65 °C). Adding oil to overly hot wax can cause lighter top notes to flash off and weaken the scent.
- Stir thoroughly for at least two minutes to ensure even distribution.
Recommended Fragrance Load by Product
| Product Type | Typical Fragrance Load |
|---|---|
| Container candles | 6–10% of wax weight |
| Cold-process soap | 5–6% of oil weight |
| Melt-and-pour soap | 1–3% of base weight |
| Room sprays | 10–20% of total volume |
| Body lotion / cream | 1–3% of total weight |
Step 6: Let Your Blend Cure & Mature
Good things take time. Allow your fragrance blend to rest so the oils can fuse into a harmonious scent. For the raw oil blend itself, at least 48 hours of rest enables the essential and fragrance oils to meld and the fragrance to mature.
For candles, curing is critical. Allowing candles to cure for about a week lets the fragrance oil spread out evenly into the wax and provides the best possible scent throw. During this period the scent actually improves as the fragrance and wax bind together.
After curing, re-evaluate your blend. If the scent profile has shifted, make small adjustments—perhaps a touch more base note to extend longevity, or an extra percentage of top note to brighten the opening.
Step 7: Adapt Your Blend Across Product Types
A single custom blend can be used across your entire product line, but each medium has unique requirements.
- Candles: Choose oils that are safe for burning and test for scent throw and stability in your specific wax type. Wick size also affects performance—an undersized wick that does not create a full melt pool can inhibit scent throw.
- Soaps & Body Products: Ensure every oil in the blend is skin-safe and retains its fragrance during saponification or when mixed with cosmetic bases. Always perform a patch test.
- Room Sprays & Diffusers: Opt for oils that disperse well in the air, and select a suitable carrier (such as a polysorbate emulsifier for sprays or a reed-diffuser base) to enhance diffusion and longevity.
Five Starter Blend Formulas to Try
Use these as inspiration. Adjust ratios to suit your personal preference.
- Warm Bakehouse: 40% vanilla (base) + 30% cinnamon bark (middle) + 30% sweet orange (top)
- Garden at Dusk: 20% sandalwood (base) + 50% lavender (middle) + 30% bergamot (top)
- Coastal Bonfire: 25% driftwood (base) + 40% sea salt (middle) + 20% coconut (middle) + 15% lemon zest (top)
- Holiday Hearth: 20% amber (base) + 50% balsam fir (middle) + 30% clove bud (top/middle)
- Fresh Linen Morning: 20% white musk (base) + 45% cotton blossom (middle) + 35% cucumber (top)
Common Mistakes to Avoid
- Skipping IFRA checks. Every fragrance oil has maximum usage levels by application. Going beyond them can cause skin irritation and regulatory trouble.
- Blending too many oils at once. Complex doesn't mean better. Three oils is a sweet spot for beginners.
- Not recording ratios. If you stumble onto an amazing scent but cannot recreate it, the effort is wasted.
- Ignoring cure time. A freshly poured candle will almost never smell the same as one that has cured for a week.
- Using volume instead of weight. Fragrance oils vary in density. A gram scale keeps your formulas accurate and repeatable.
Key Takeaways
- Every great blend starts with understanding top, middle, and base notes and how they evolve over time.
- The 30/50/20 rule (30% top, 50% middle, 20% base) is a proven starting ratio you can adjust per product.
- Begin with two to three simple, single-note oils before adding complexity.
- Always test blends using blotter strips, the Q-tip jar method, or a small test batch before committing to a full production run.
- Let raw blends rest at least 48 hours and finished candles cure for about a week for optimal scent performance.
- Check IFRA certificates and SDS documents for every oil—safety is non-negotiable.
- Keep meticulous notes so every winning blend is perfectly reproducible.
Frequently Asked Questions
What is the 30/50/20 rule in fragrance blending?
The 30/50/20 rule is a guideline that recommends using 30% top notes, 50% middle notes, and 20% base notes to create a balanced, evolving scent. It works for candles, soaps, room sprays, and personal-care products alike and is widely considered a reliable starting point for beginners.
Can I blend fragrance oils from different product categories?
Yes, soapmaking fragrance oils can be added to candle projects, though they may not have been specifically tested for scent throw in wax. Always make a small test candle first and verify each oil's IFRA certificate for your intended application.
How many fragrance oils should I combine in one blend?
Two to three oils is ideal when you are starting out. A few well-chosen oils produce a more striking effect than a complicated mix. As your nose develops, you can layer in additional notes.
How long should I let a custom fragrance blend cure?
Allow the raw oil blend to rest for at least 48 hours so the scents can meld. For finished candles, a cure time of about one week helps the fragrance bind with the wax for the strongest scent throw.
Do I need to check safety data before selling blended products?
Absolutely. Always check the IFRA certificate and SDS for each fragrance oil. These documents list maximum usage rates per product category and identify any restricted or allergenic ingredients. Exceeding limits can cause skin irritation and allergic reactions.
What is the best way to test a new blend quickly?
The Q-tip method is a fast, low-waste option. Dip separate Q-tips into two to four fragrance oils, seal them in a small jar, and wait at least an hour before opening to evaluate the combined scent. Adjust by adding more Q-tips of the dominant scent you want.